Intro
In this section we will explain how to upload two cloud assets to your project in order to make them available for use in your scripts. Feel free to download these file assets for an excercise:
Notice how we will use 2 assets at once in this tutorial - one glb (glTF) asset and one STEP asset (STP). This is going to be useful to illustrate the differences between the two file types.
Before we start
You will first need to create a new project or use an existing one. You can learn how to do that in our Create Projects tutorial. It does not matter which script type you choose, later we will provide example on how to use your uploaded assets for each of them.
How to upload a cloud asset
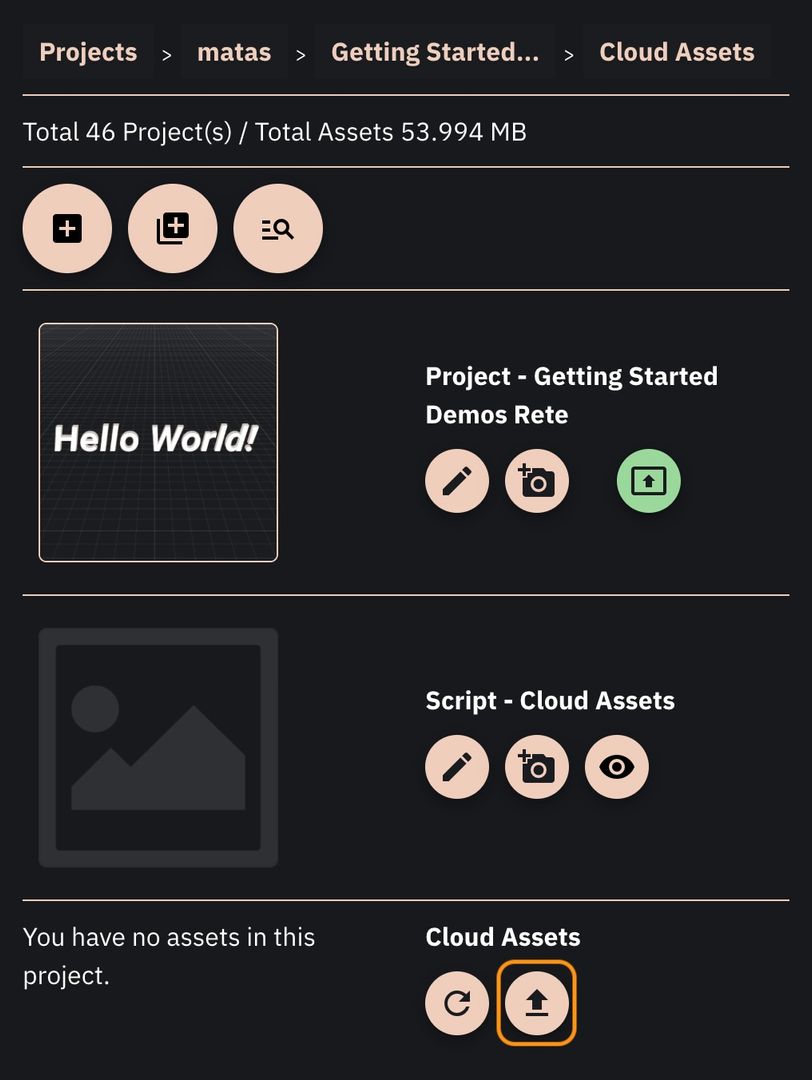
Because cloud assets are tied in with your projects the upload also happens through project management panel. You may think of cloud assets as a part of your project. This is why you will need to open the project management panel. You can do that either while using one of the editors or navigating to the project management panel at My Projects.
Uploading via the editor
If you created the new project and a script, you will in the active editor session, open the project management panel by clicking top left menu button with the script name and a settings icon shown in the image below:
Button to open project management panel
Be aware that word Script can be different in your case - this is just a placeholder for whatever name you gave your script. After you click this button you can click the button in the bottom right corner that is also visible in the picture below to "Upload Asset":
Button to initiate the upload of a cloud asset
Now you will be presented with a form where you have to enter the title of your asset and choose a file for upload. We advise you to use a user-friendly name for the file you are about to upload as you will have to enter precise file name and not a title later on when using this asset. Set a title for BoomBox.glb to BoomBox and for CalmCup.step to CalmCup. Image below shows how your form should look like for a BoomBox:

Filled asset upload form
Now you can click Upload button and the asset will be uploaded to your project. The form will close and you will be able to see the asset in the list of your assets. Be aware that it can take a bit for this to happen. Backend must process the file and see whether your quota allows you to upload the file. If you have exceeded your quota, your uploaded file will be deleted and you will not see your new asset. This situation is rare, because if your quota limits are already reached you should not see an upload button at all.
Do this step for CalmCup.step file as well and you should see both of your assets uploaded in the project like this:

Uploaded assets appear in the list
Now your assets are ready to be used by all of the scripts in your project. Feel free to read next section where we will show you how to use impored assets in your scripts.