How to create customizable 3D text
In this tutorial you will learn how to use line item inputs and set up the product which uses 3D text.
Here is the link to demo store product of Text 3D.
Demo store password: 3d-bits-demo
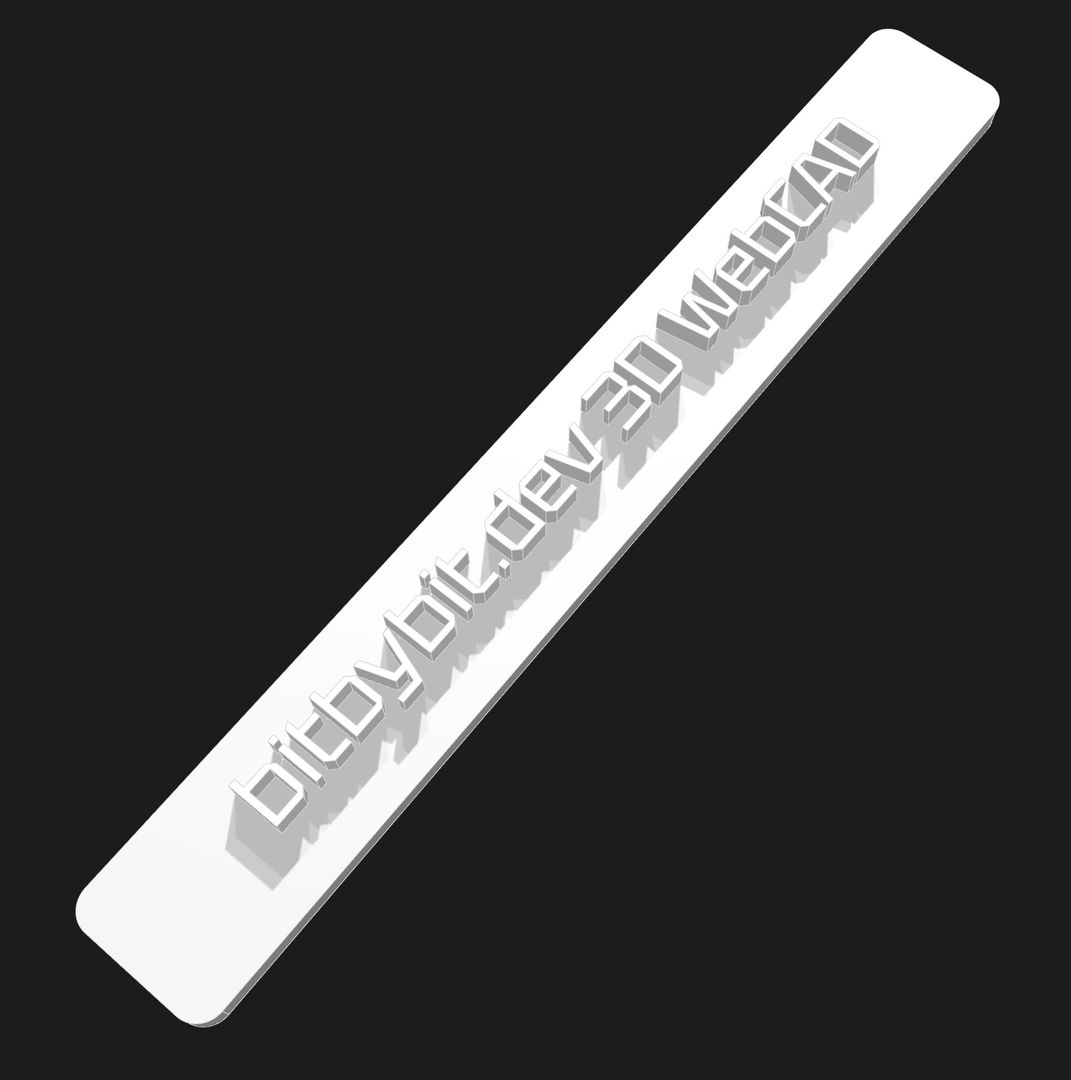
Model Example
Custom Liquid
As in the previous tutorial of palm table, we will use custom liquid form. In case you did not follow that particular tutorial, you should watch it to know how to set up the metafields for custom liquid line items.
This snippet defines the form inputs for text and height. It is used to render the custom liquid UI element. Copy this to the product metafield that you have created.
<style> label { margin-top: 20px; } input { width: 100%; max-width: 440px; } input[type='text'] { height: 40px; padding: 20px; -webkit-user-select: text; } ::selection { background-color: #000000; color: #ffffff; } input[type='range'] { margin: 0px; appearance: none; background-color: #000000; color: #000000; height: 2px; border-radius: 0.5vmin; } input::-webkit-slider-thumb { cursor: pointer; appearance: none; width: 1vmin; height: 1vmin; background: black; } </style> <p class="line-item-property__field"> <label class="form__label" for="html5colorpicker">Color</label> <input name="properties[Color]" form="{{product_form_id}}" type="color" id="html5colorpicker" onchange="clickColor(0, -1, -1, 5)" value="#f0cebb"> <label class="form__label" id="text-height-range-label" for="text-height-range">Text Height</label> <input id="text-height-range" form="{{product_form_id}}" name="properties[Text Height]" type="range" min="0.1" max="2" value="0.5" step="0.1" class="slider" /> <label class="form__label" id="base-height-range-label" for="base-height-range">Base Height</label> <input id="base-height-range" form="{{product_form_id}}" name="properties[Base Height]" type="range" min="0.1" max="2" value="0.5" step="0.1" class="slider" /> <label class="form__label" for="text-to-form">3D Text</label> <input id="text-to-form" name="properties[Text 3D]" maxlength="30" value="bitbybit.dev 3D WebCAD" form="{{product_form_id}}" type="text" /> </p> <script> setTimeout(() => { setupUpdates('text-height-range', 'Text Height: '); setupUpdates('base-height-range', 'Base Height: '); }); function setupUpdates(id, label){ const value = document.querySelector(`#${id}-label`); const input = document.querySelector(`#${id}`); value.textContent = label + input.value; input.addEventListener('change', (event) => { value.textContent = label + event.target.value; }); } </script>
Setting up the text 3D variants
You will need these product variants:
- Font - Tektur, Roboto, Orbitron
The script on bitbybit.dev
In order to save you some time we have this embedded script that you can pick up from this tutorial page and export to bitbybit runner.